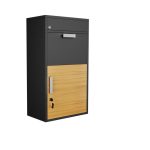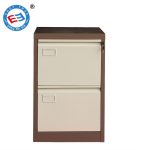
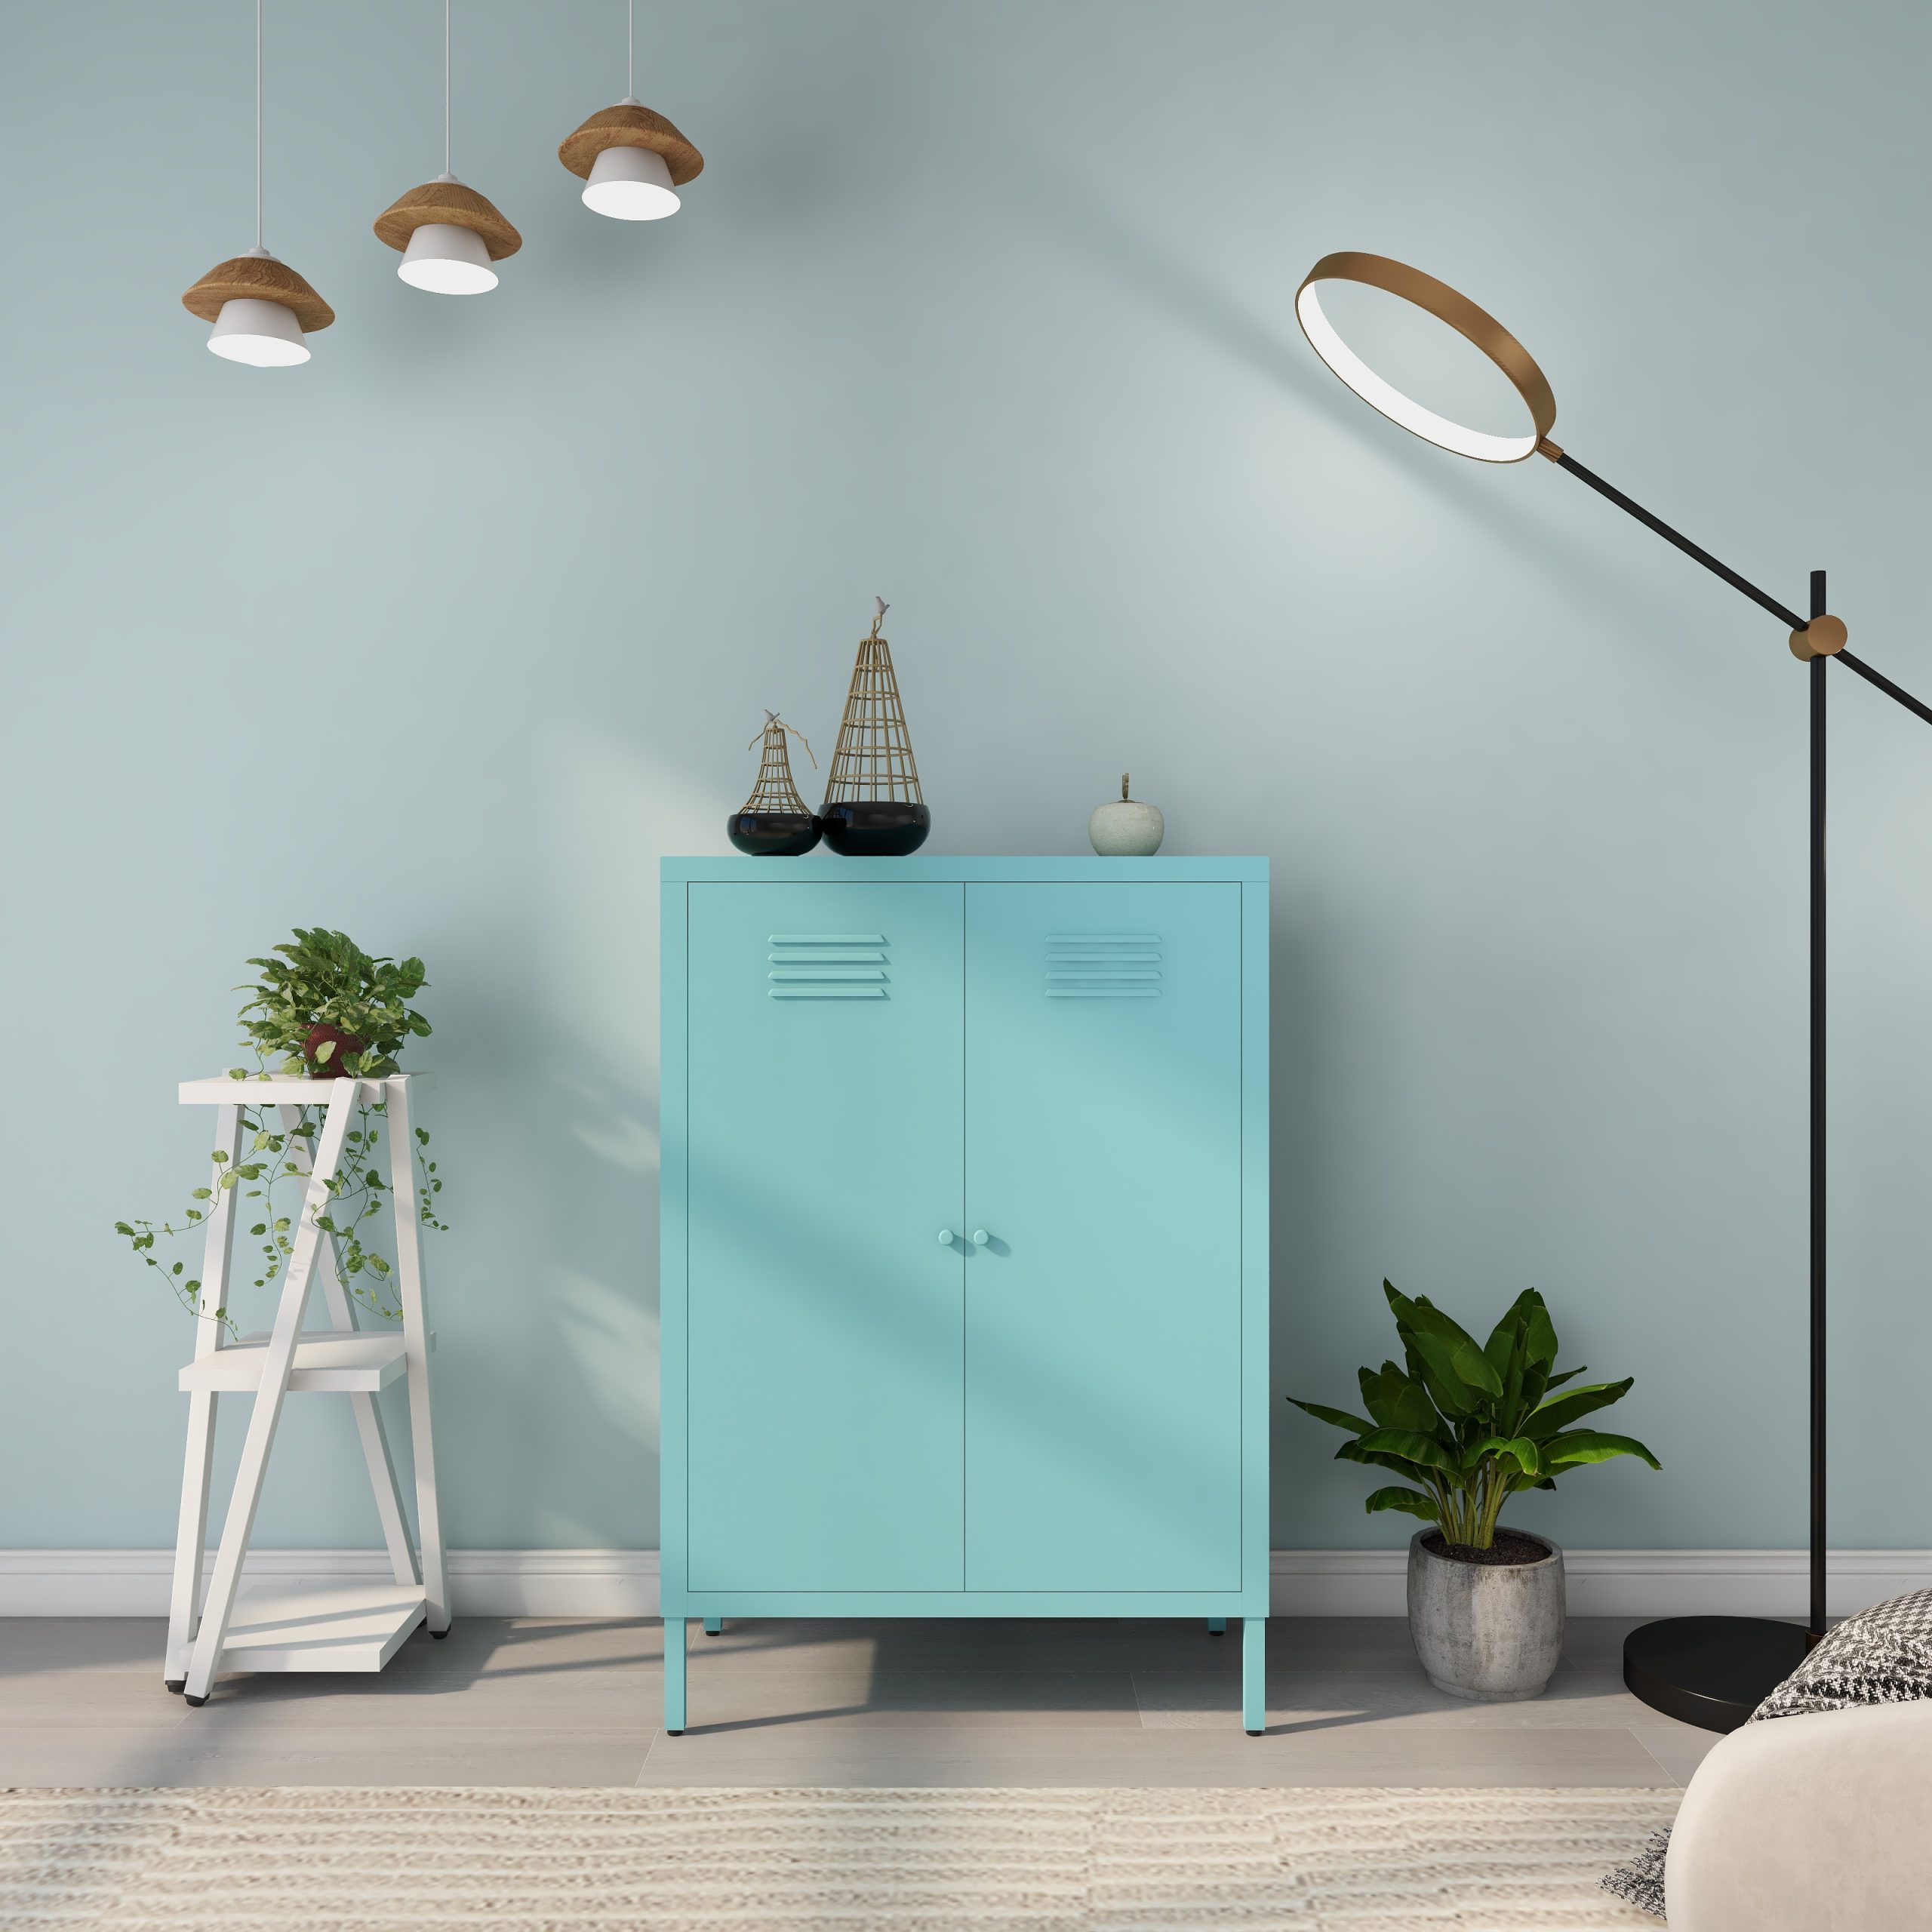
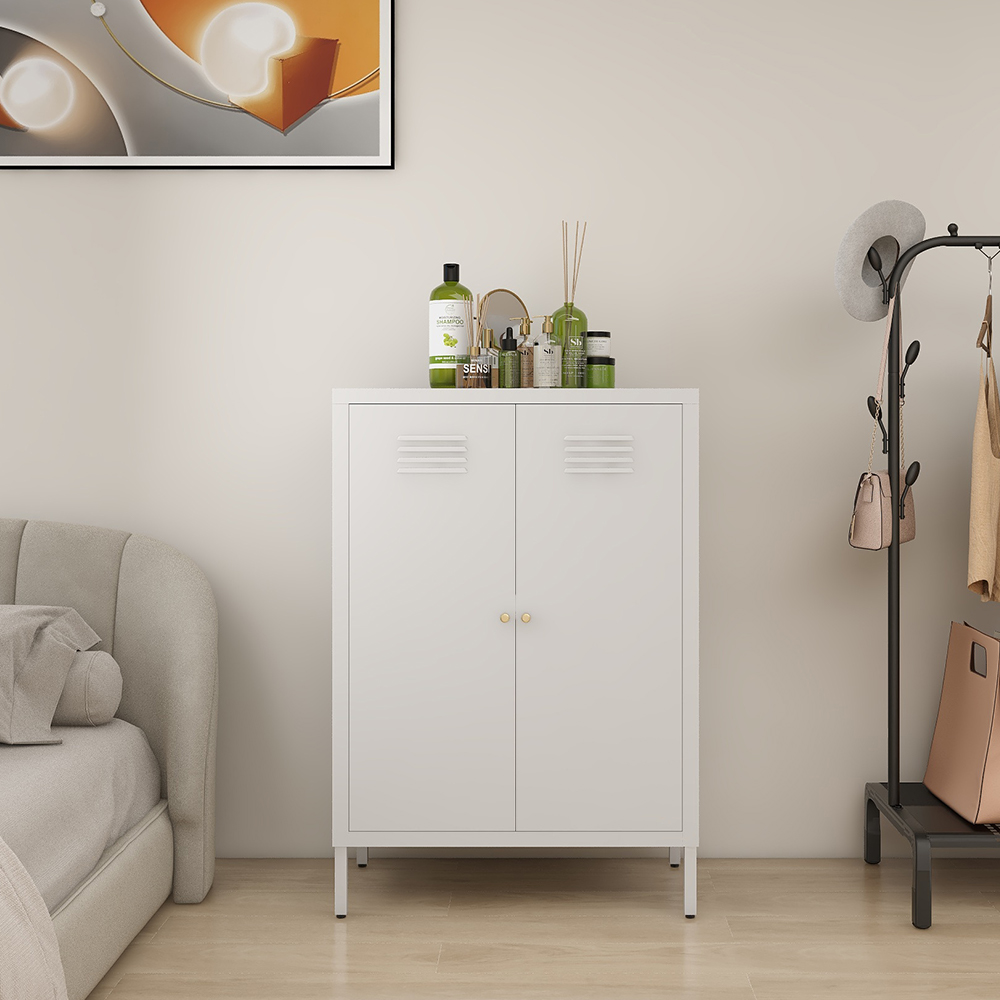
How to Repaint Metal Cabinets?
Metal cabinets are durable and functional fixtures in many kitchens, garages, and offices. However, they can face challenges such as aging, rusting, and paint peeling over time, making them look unattractive and worn. Repainting metal cabinets is a simple and effective way to restore their beauty and extend their lifespan. Not only will a fresh coat of paint enhance the appearance, but it can also protect the metal from further deterioration.
In this comprehensive guide, we will walk you through each step of the process, from preparation to post-painting maintenance, and provide tips on selecting the right materials and tools for a smooth and successful project.
Tools and Materials Checklist:
- Drop Cloths/Newspapers
- Protective Gear (Safety glasses, face mask, gloves)
- Degreaser and Rust Remover
- Sandpaper/Sanding Machine
- Metal Primer and Paint (compatible with metal)
- Brushes or Spray Gun
- Clean Rags
- Painter’s Tape and Plastic Sheeting
I. Preparation
Safety Gear:
Before starting the project, make sure to protect yourself. Wear safety glasses to prevent paint splatters from getting in your eyes. A face mask will help filter out harmful fumes and particles from paint and chemicals, and gloves will keep your hands safe from chemicals and rough surfaces.
Work Area:
Ensure your workspace is well-ventilated by opening windows or using fans. A well-ventilated area will help disperse fumes and speed up drying. Lay down newspapers or plastic sheets on the floor to protect against paint drips.
Material Collection:
Gather the materials you'll need, including a degreaser to clean the metal surface, rust remover for any rusted sections, sandpaper or a sanding machine to smooth the surface, a metal primer for better adhesion and rust protection, and the paint of your choice. Don’t forget your painting tools, such as brushes or a spray gun, as well as clean rags for wiping down surfaces.
II. Cleaning and Pre-Treatment
Thorough Cleaning:
Start by using a degreaser to clean the metal surface. Spray the degreaser generously and wipe it down with a clean cloth. Pay attention to intricate areas like handles and hinges, as these are often missed but are crucial to the overall look.
Rust Treatment:
If your cabinets have rust, apply a rust remover to the affected areas and let it sit for the time recommended by the manufacturer. Afterward, use sandpaper or a sanding machine to gently remove the rust, leaving the surface smooth and clean. Repeat the process until all rust is gone.
Sanding the Surface:
Even if there is no rust, sanding the entire metal surface is essential to provide a clean, smooth base for the primer and paint to adhere to. Always sand in the direction of the metal’s grain to avoid creating visible scratches.
Final Cleaning:
Once the sanding is complete, wipe the surface down with a damp cloth to remove dust and debris. After the metal has dried, use a dry, clean cloth to wipe away any remaining particles.
III. Priming
Choosing the Right Primer:
Choosing a metal-specific primer is crucial. Metal primers are designed to increase adhesion, create a smooth base for the paint, and prevent rust from forming underneath the surface. Make sure the primer is compatible with the topcoat paint you plan to use.
Prepping the Primer:
Shake the primer can thoroughly to ensure it’s evenly mixed. If using a spray gun, adjust the spray nozzle and pressure settings according to the primer instructions.
Applying the Primer:
For brush application, apply the primer along the grain of the metal in even strokes, making sure to avoid paint build-up. For spray application, maintain a consistent distance from the surface and spray in a sweeping motion to cover all areas. Pay extra attention to edges and corners to ensure full coverage.
Drying Time:
Allow the primer to dry fully according to the manufacturer’s instructions. If needed, check for any missed spots or air bubbles and touch them up before proceeding.

IV. Painting
Choosing the Right Paint:
Select a paint designed for metal surfaces. You can choose the color and finish (matte, satin, or gloss) that best suits your style and the surrounding décor.
Preparing the Paint:
Shake the paint container well to ensure uniformity. If you plan to mix colors, follow the manufacturer’s mixing instructions to achieve the desired shade.
Applying the Paint:
Start by applying a thin, even coat of paint. If you’re using a brush, make sure to follow the direction of the metal grain to avoid streaks. If using a spray gun, spray in smooth, consistent strokes, keeping the gun at a fixed distance to prevent uneven coverage. Multiple thin coats are better than one thick coat. Wait for each layer to dry before applying the next.
Detailing and Touch-ups:
Use a small brush or adjust your spray gun’s nozzle to handle tight corners and edges. Be sure to cover all gaps, hinges, and hardware, either by removing them before painting or by masking them carefully with painter’s tape.
Drying and Curing:
Once you’ve applied the final coat, let the paint dry completely according to the instructions. During the curing process, avoid touching or moving the cabinet, as it can affect the finish.
V. Post-Painting and Maintenance
Checking and Touching Up:
After the paint has dried, carefully inspect your work for any flaws. If you find areas that need fixing, lightly sand them with fine-grit sandpaper and apply another thin coat of paint.
Reinstalling Hardware:
If you removed any hardware during the process, now is the time to reinstall it. Ensure everything is securely fastened.
Regular Maintenance:
To maintain the look of your freshly painted cabinets, avoid using abrasive cleaning products. Regularly wipe the surface with a damp cloth to keep it free from dust and dirt. If you notice any chips or scratches, address them immediately by touching them up with paint.
VI. Common Problems and Solutions
Bubbling Paint:
Bubbling can occur if the primer isn’t dry enough, or if there is moisture or oil on the surface. To fix this, sand down the bubbles, clean the surface thoroughly, and repaint.
Peeling Paint:
Peeling can happen if the primer and topcoat aren’t compatible, or if the surface wasn’t adequately cleaned. Make sure to clean the surface well and use a compatible primer and paint combination.
Uneven Coats:
Uneven paint layers can occur from applying too thick a coat or inconsistent brushing. Ensure you apply thin, even layers and allow each to dry before applying the next.
Rust Reappears:
Rust can return if the primer wasn’t fully applied, or if moisture is trapped under the surface. Ensure thorough rust removal, complete coverage with the primer, and adequate curing time.
Conclusion
Repainting metal cabinets may seem like a daunting task, but with the right tools, patience, and attention to detail, the process can be both rewarding and enjoyable. By following this step-by-step guide, you’ll not only restore your cabinets’ appearance but also increase their durability. DIY projects like this give a sense of accomplishment and can be a fun way to transform your space.