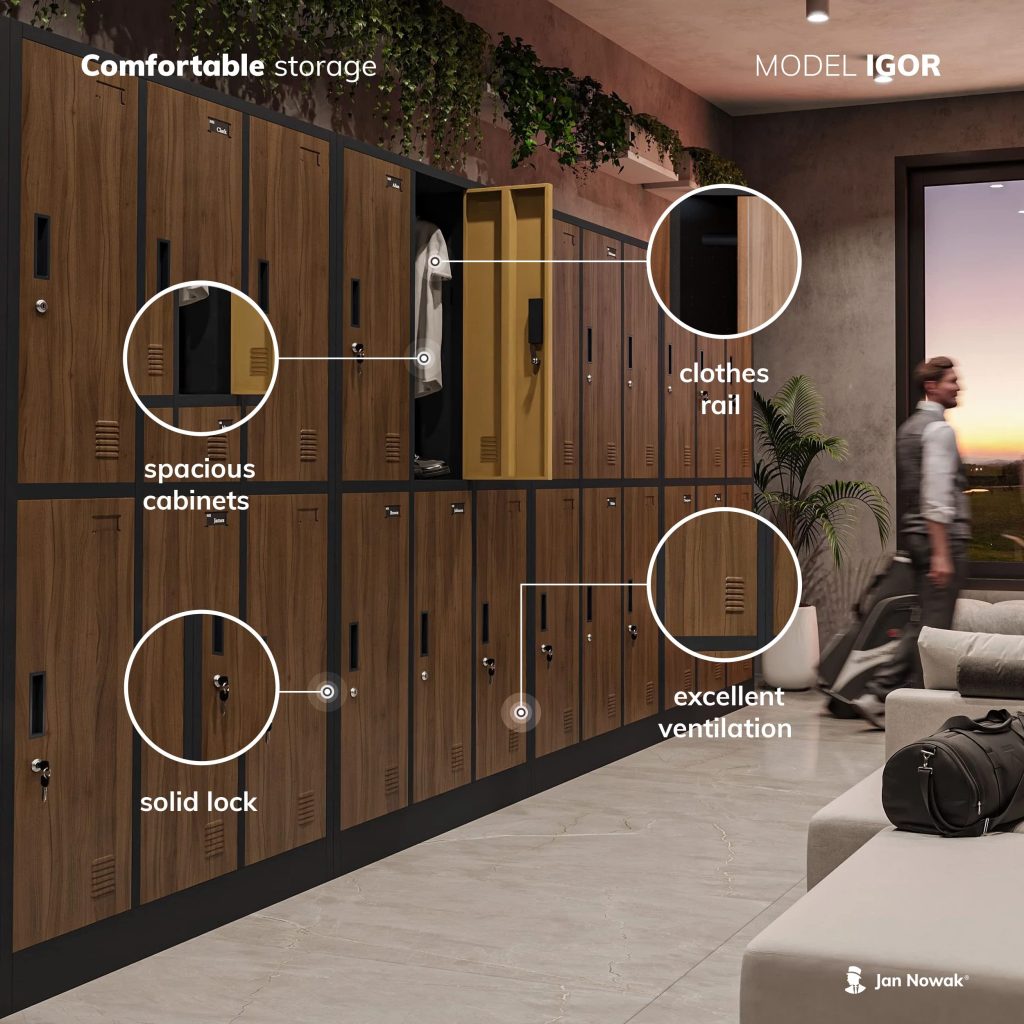
Assembling a steel locker might seem daunting at first, but with the right tools, a little patience, and a clear understanding of the steps involved, you'll have it set up in no time. Whether you're organizing your office, gym, school, or home space, a steel locker is a practical and durable storage solution. In this guide, we'll walk you through the process of assembling a steel locker from start to finish.
Reference installation video
You can refer to the installation video of the 9-door steel locker:
Steps to Assemble a Steel Locker:
Assembling a steel locker typically involves several steps. Here's a general guide on how to do it:
Tools You’ll Need:
Screwdriver (usually Phillips or flathead)
Allen wrench (if needed)
Hammer (if necessary for fittings)
Small rubber mallet (optional)
Screws, bolts, and nuts (provided with the locker)
Assemble Steps of Steel Lockers:
Unbox and Organize Parts:
Open the packaging and lay out all the parts.
Identify the central panels (sides, top, bottom, back), shelves, doors, locks, and screws.
Check the instruction manual for a parts list to ensure everything is present.
Assemble the Base:
Please start with the bottom panel and attach the side panels to it. Use screws to secure the sides to the bottom.
Some lockers may have support brackets or additional fittings for extra stability.
Attach the Back Panel:
Align the back panel with the sides and the bottom.
Secure it with screws along the edges.
Install Shelves (if applicable):
If your locker has shelves, attach them by inserting the metal brackets or slots at the designated height.
Make sure the shelves are level and stable.
Attach the Top Panel:
Secure the top panel to the sides and back, ensuring it's flush with the edges.
Tighten all screws carefully.
Install the Doors:
Attach the door hinges to the body of the locker. Most steel lockers have pre-drilled holes for the hinges.
Secure the doors with screws through the hinge brackets.
Install Locks/Handles:
If the locker has a lock, install the lock mechanism according to the instructions.
Attach the handles to the door by aligning and securing them with screws.
Final Adjustments:
Double-check that all screws are tightened and the locker is stable.
Ensure that the doors open and close smoothly and that the locks function properly.
Position and Secure the Locker:
Once the assembly is complete, position the locker in its designated space.
If necessary, secure it to the floor or wall for added stability.
Tips for a Smooth Assembly of Steel Locker:

Read the Manual: Follow the manufacturer's instructions as designs may vary.
Use the Right Tools: Using proper tools will speed up and improve the assembly.
Have a Helper: Some steps are easier with a second person, especially with large panels or doors.
Stay Organized: Keep small parts like screws and bolts in separate containers to avoid losing them.
Take Your Time: Don't rush; ensure all parts are properly aligned and secured.
Precautions for use after installation
Load Limit: Follow the weight limit specified in the manual to prevent deformation or damage.
Regular Inspection: Check doors, locks, hinges, and surfaces for wear, rust, or loose parts, and repair promptly.
Avoid Damp Environments: Place the cabinet in a dry, well-ventilated area to prevent rust.
Avoid Sudden Impacts: Prevent harsh impacts when moving or using the cabinet.
Cleaning and Maintenance: Wipe with a dry cloth and use mild cleaners. Avoid wet cloths to prevent rust.
Avoid Pressure: Do not apply excessive pressure, especially when the cabinet is full.
Prevent Scratches: Keep sharp objects away from the cabinet to avoid scratches.
Proper Ventilation: Ensure ventilation if storing moisture-sensitive items to prevent mold or odors.
Conclusion:
A well-assembled steel locker can provide years of reliable service, offering secure and organized storage for your personal items. By adhering to these tips and guidelines, you’ll have your steel locker ready for use in no time.


